 Save
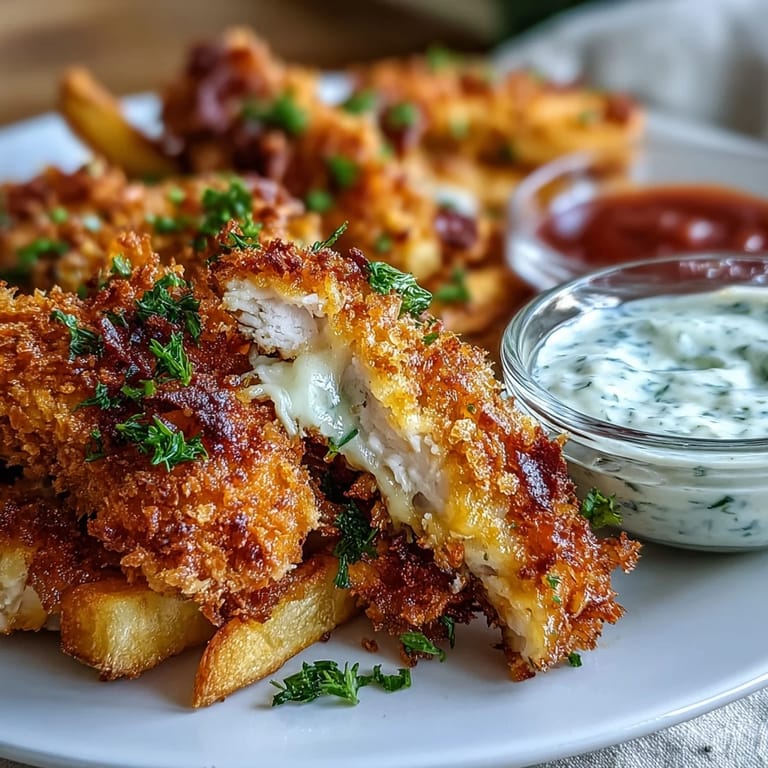
Save My sister texted me a photo of crispy chicken fries from some trendy appetizer place, and I immediately thought, why am I paying for this when I can make it better at home? That afternoon, I grabbed chicken breasts, panko, and Parmesan, and somehow created something that tasted like a fancy restaurant dish but took barely forty-five minutes. Now whenever friends come over hungry and impatient, these are what I make.
I made these for a casual dinner party where someone mentioned they were tired of the same old chicken recipes, and watching their face light up when they bit into one was worth more than any compliment. The smell of Parmesan crisping up in the oven filled the whole kitchen, and suddenly everyone stopped talking and just started eating. That's when I knew this recipe had staying power.
Ingredients
- Boneless, skinless chicken breasts (500 g): Pound them gently if they're thick, then slice against the grain for more tender fries that aren't chewy.
- All-purpose flour (1/2 cup): This first coating helps everything stick; don't skip it even though it seems redundant.
- Eggs and milk (2 large eggs, 1 tbsp milk): The milk thins the egg slightly so it coats more evenly without clumping.
- Panko breadcrumbs (1 cup): Regular breadcrumbs get soggy; panko stays crispy even as it cools, which is the whole point here.
- Grated Parmesan cheese (1/2 cup): Use the good stuff if you can, because that salty, umami flavor is what makes these special.
- Garlic powder and Italian seasoning (1 tsp each): These sneak flavor into every bite without overpowering the chicken.
- Cooking spray or olive oil (2 tbsp): The oil is your secret to that fried-food crispiness without an actual deep fryer.
- Marinara sauce (1 cup) and ranch dressing (1/2 cup): Warm the marinara slightly so the fries don't cool down when you dip them.
Tired of Takeout? 🥡
Get 10 meals you can make faster than delivery arrives. Seriously.
One email. No spam. Unsubscribe anytime.
Instructions
- Heat your oven and prep the pan:
- Set the oven to 220°C (425°F) and line a baking sheet with parchment paper, then give it a light spray of oil. This temperature is hot enough to crisp everything without drying out the chicken inside.
- Slice the chicken into fries:
- Cut each breast lengthwise into strips about 1/2 inch wide, as if you're making homemade chicken fingers. The more uniform the thickness, the more evenly they'll cook.
- Season the strips:
- Sprinkle both sides lightly with salt and pepper, keeping it gentle since the breading will add more salt through the Parmesan.
- Set up your breading station:
- Arrange three shallow bowls in a row: flour in the first, beaten eggs with milk in the second, and the panko-Parmesan mixture in the third. This assembly-line approach keeps things tidy and prevents your hands from becoming a sticky mess.
- Coat each strip:
- Take one strip, roll it in flour until lightly coated, shake off the excess, dip it in egg, then roll it firmly in the panko mixture, pressing gently so it adheres. The pressing step is crucial; it creates those little pockets that turn golden and crunchy.
- Arrange on the baking sheet:
- Lay each breaded strip on the prepared sheet in a single layer without crowding or overlapping. If they touch, they'll steam instead of crisp.
- Add the oil for crispiness:
- Spray or drizzle the strips lightly with olive oil on both sides; this is what transforms them from baked to fried-tasting. Don't skip this step thinking you're saving calories, because dry baked chicken strips are nobody's favorite.
- Bake and flip:
- Bake for about 20 to 25 minutes, flipping once halfway through so both sides turn golden brown and crispy. You'll know they're done when they're deep golden and an instant-read thermometer reads 74°C (165°F) inside.
- Serve immediately:
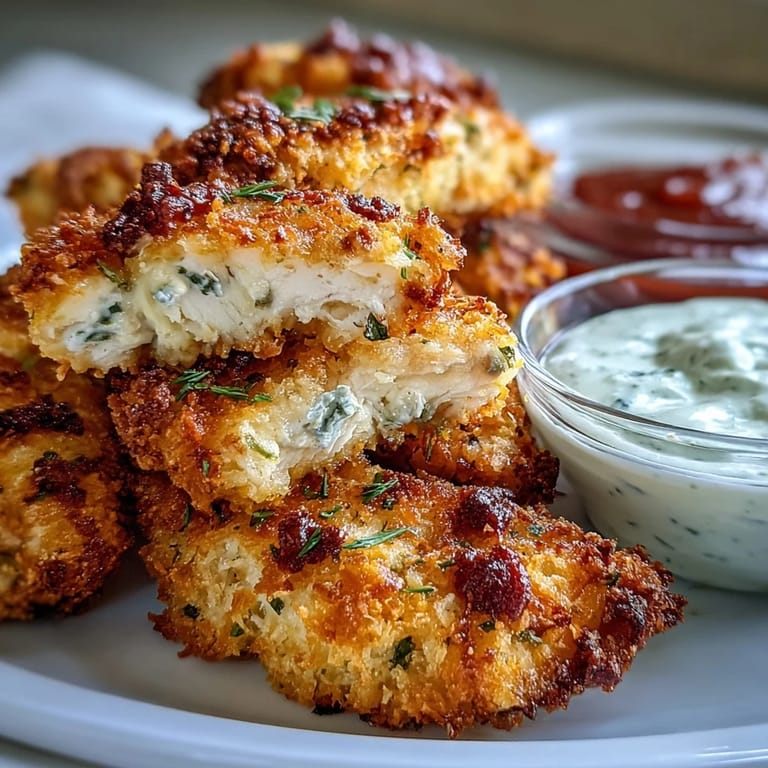
- Plate them hot alongside the warm marinara and cold ranch, and watch people inhale them like they just came from a restaurant fryer.
 Save
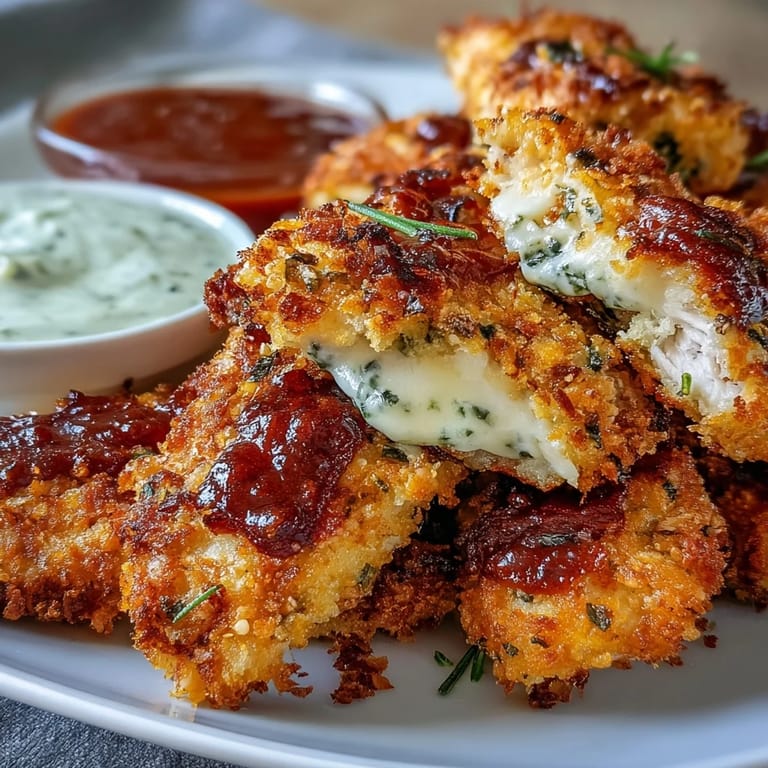
Save My kid asked me one night if these were "fancy" because I served them on a wooden board with the dips in little bowls, and I realized that sometimes the simplest things feel special just because of how you present them. It made me appreciate how a good breading technique and a hot oven can turn something as ordinary as chicken breast into something people actually get excited about eating.
Why Panko Changes Everything
The first time I made these with regular breadcrumbs, they came out soft and almost mushy, and I thought I'd ruined the whole idea. Then I switched to panko and suddenly understood why every fried-food recipe mentions it: panko pieces are larger and airier, so they brown faster and stay crispy longer. It's one of those tiny ingredient swaps that completely transforms the result, and now I keep a box on hand for any breading project.
Customizing Your Dip Station
Plain marinara and ranch work beautifully, but I've started experimenting with variations depending on my mood and what's in the fridge. Garlic aioli, spicy sriracha mayo, or even a lemon-herb Greek yogurt dip all pair wonderfully with these crispy strips. The beauty of serving them fry-style is that everyone can pick their favorite dip, which takes the guesswork out of seasoning.
Storage, Reheating, and Make-Ahead Tips
These are best eaten fresh from the oven when they're at peak crispiness, but they'll stay good in an airtight container in the fridge for up to three days. Reheat them in a 180°C (350°F) oven for about five minutes to restore some of that crunchy texture without drying them out. You can also bread them completely ahead of time and freeze the raw strips for up to a month, then bake straight from frozen, adding just a few extra minutes to the cooking time.
- Store cooled leftovers in an airtight container to keep them from getting soggy.
- Reheating in the oven preserves crispiness way better than the microwave.
- Frozen breaded strips go straight into the oven without thawing for convenience.
 Save
Save Making these has become my go-to move when I want to feel like I've put in effort without actually spending much time in the kitchen. They're proof that sometimes the best food doesn't require fancy techniques, just good ingredients and a hot oven.
Recipe FAQ Section
- → How do I get the crispiest coating?
Use only panko breadcrumbs, spray the coated strips lightly with oil before baking, and ensure the oven reaches 220°C (425°F) for proper crisping. Flip halfway through cooking time for even browning on both sides.
- → Can I make these ahead of time?
Bread the strips and refrigerate for up to 4 hours before baking. For best results, bake fresh rather than reheating, though leftovers can be crisped in a 200°C oven for 5-10 minutes.
- → What's the internal temperature for fully cooked chicken?
Insert a meat thermometer into the thickest strip. Chicken is safely cooked when it reaches 74°C (165°F). The exterior should be golden brown and the juices run clear when pierced.
- → How can I add more flavor to the coating?
Increase garlic powder to 2 teaspoons, add red pepper flakes for heat, or incorporate grated lemon zest. Fresh herbs like parsley or basil mixed into the breadcrumb mixture add brightness.
- → What other dipping sauces work well?
Beyond marinara and ranch, try honey mustard, garlic aioli, spicy arrabbiata, or a basil pesto dip. Blue cheese dressing offers a tangy alternative to ranch for those who prefer bolder flavors.
- → Can I air fry these chicken strips?
Yes, arrange breaded strips in a single layer in the air fryer basket. Cook at 200°C (400°F) for 10-12 minutes, shaking halfway through. Light coating with oil spray still recommended for best texture.