 Save
Save I bought my panini press on a whim during a kitchen sale, convinced it would end up buried in a cabinet with my waffle iron. Instead, it became my most-used appliance. The first time I heard that sizzle and smelled toasted bread mingling with melted cheese, I knew I'd stumbled onto something good. Now, every week brings a new combination—some planned, most improvised from whatever lingers in the fridge.
One rainy afternoon, my neighbor dropped by unexpectedly, and all I had were odds and ends—grilled veggies from the night before, a chunk of feta, some hummus. I threw together what became the Mediterranean Veggie, and she declared it better than anything she'd ordered at a cafe. That moment taught me that panini magic isn't about fancy ingredients; it's about heat, pressure, and a little boldness.
Ingredients
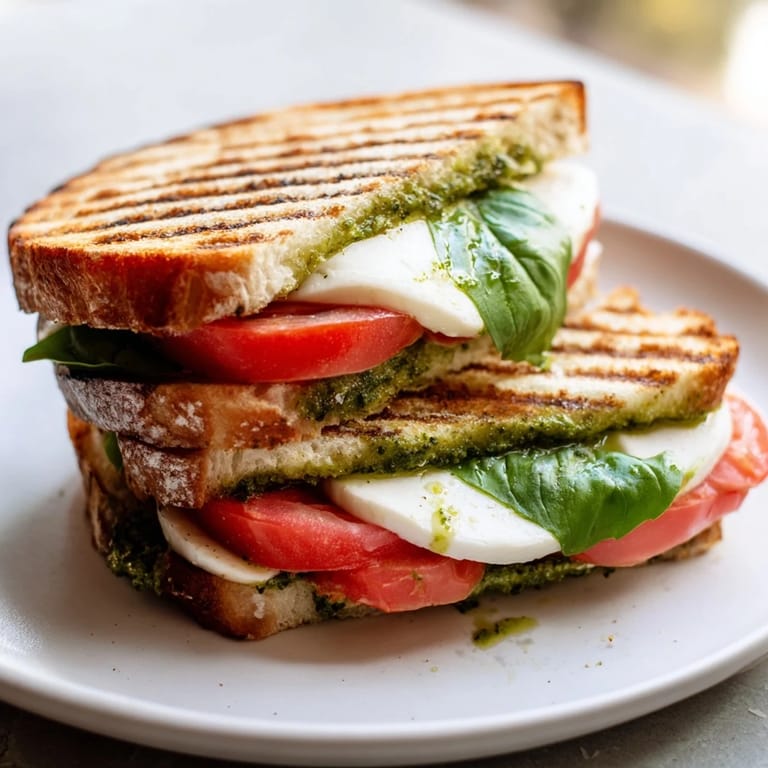
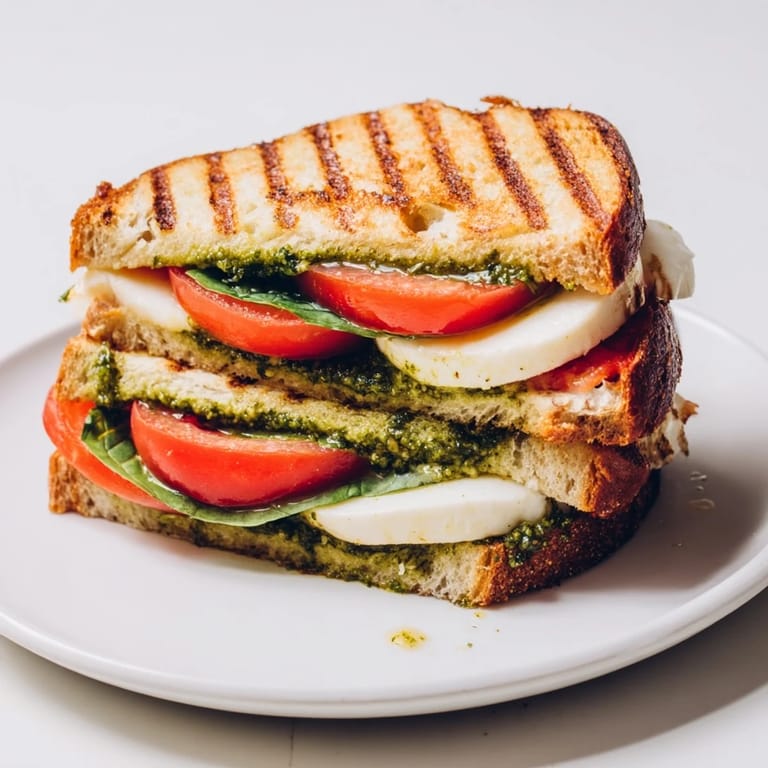
- Sourdough or ciabatta bread: The tangy chew of sourdough holds up beautifully under pressure, while ciabatta's airy crumb creates pockets that catch melted cheese and sauces.
- Basil pesto: A good pesto adds herbal brightness and a hint of garlic; I've learned that spreading it thinly prevents sogginess while still delivering bold flavor.
- Fresh mozzarella: Opt for the kind packed in water, then pat it dry—too much moisture and your bread turns limp instead of crisp.
- Tomatoes: Slice them about a quarter-inch thick and lightly salt them on a towel for a few minutes to draw out excess liquid.
- Fresh basil leaves: Tuck whole leaves between the cheese and tomato for bursts of fragrance that bloom with the heat.
- Multigrain bread: The nutty texture pairs perfectly with turkey and cranberry, adding a wholesome contrast to the sweet-tart sauce.
- Sliced turkey breast: Deli turkey works fine, but if you have leftover roasted turkey, even better—it brings deeper flavor.
- Cranberry sauce: Whether homemade or canned, a thin layer goes a long way; too much and the sandwich becomes sticky rather than balanced.
- Swiss cheese: Its mild, slightly sweet flavor complements turkey without overpowering it, and it melts into smooth, stretchy ribbons.
- Baby spinach leaves: They wilt just enough to add color and a whisper of earthiness without making the sandwich bulky.
- Focaccia or rustic bread: Focaccia's olive oil-kissed crust crisps beautifully, and its thickness holds generous amounts of grilled vegetables.
- Eggplant and zucchini: Grilling them beforehand removes excess moisture and adds a smoky sweetness that stands up to the press.
- Roasted red pepper: Jarred peppers are convenient, but roasting your own intensifies their sweetness and gives you control over seasoning.
- Feta cheese: Crumbled feta adds salty, tangy pops throughout the sandwich, and it softens without fully melting, creating interesting texture.
- Hummus: A creamy spread that acts as both moisture and binding agent, holding the veggies together while adding subtle garlic notes.
- Cooked shredded chicken breast: Rotisserie chicken saves time and brings extra flavor; shred it while still warm so it absorbs the BBQ sauce better.
- BBQ sauce: Choose a sauce you'd happily eat on its own—its flavor concentrates under heat, so mediocre sauce becomes more obvious.
- Pepper jack cheese: The little flecks of pepper add a gentle kick that plays well with smoky BBQ, and it melts into a gooey, spicy blanket.
- Red onion: Slice it paper-thin and soak in cold water for a few minutes to mellow the sharpness, leaving just a sweet crunch.
- Olive oil and butter: Brushing oil on the outside gives a golden, crispy finish, while butter adds richness and a slightly nutty aroma as it browns.
Tired of Takeout? 🥡
Get 10 meals you can make faster than delivery arrives. Seriously.
One email. No spam. Unsubscribe anytime.
Instructions
- Get the Press Ready:
- Plug in your panini press and let it heat up fully—most models have an indicator light that signals when they're ready. A properly heated press is the difference between soggy and crispy, so don't rush this step.
- Lay Out Your Bread:
- Set two slices of your chosen bread on a clean surface. Think of them as a blank canvas, ready to hold whatever flavor combination you're craving today.
- Spread Your Sauces:
- Apply pesto, cranberry sauce, hummus, or BBQ sauce to the inner sides of the bread, reaching all the way to the edges. This creates a flavorful barrier that also helps keep moisture from seeping into the bread.
- Build Your Layers:
- Stack your fillings starting with cheese, then add meats, vegetables, and greens, distributing them evenly so every bite has a little of everything. Avoid piling too high, or the press won't make good contact and you'll end up with uneven toasting.
- Seal and Brush:
- Close the sandwich gently, pressing down just enough to settle the fillings. Brush the outer sides with olive oil or spread a thin layer of butter—this is what turns the bread golden and crispy.
- Press and Cook:
- Place the sandwich in the heated press and close the lid, letting the weight do the work. Cook for four to six minutes, listening for the sizzle and watching for steam to escape from the sides, which signals the cheese is melting.
- Slice and Serve:
- Carefully remove the panini using a spatula, then slice it diagonally with a sharp knife. Serve immediately while the outside is still crackling and the inside is molten and fragrant.
 Save
Save I'll never forget the Sunday I made a batch of these for a small gathering, setting out all four combinations on a wooden board. People hovered around the press, chatting and laughing as each sandwich emerged, and the kitchen filled with the smell of toasted bread and melting cheese. It wasn't fancy, but it felt abundant and warm, like the best kind of hospitality happens when you share something simple done well.
Making It Your Own
Once you've mastered the basics, panini-making becomes a playground for experimentation. Try caramelized onions with brie and apple slices, or swap the turkey for ham and add a smear of Dijon mustard. I've pressed everything from leftover roasted vegetables to scrambled eggs with bacon for breakfast, and every version has taught me something new about balance and texture. The beauty of a panini press is that it forgives improvisation, rewarding you with crispy edges and melty centers no matter what you tuck inside.
Serving Suggestions
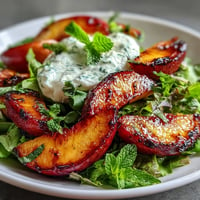
A simple green salad dressed with lemon and olive oil cuts through the richness of melted cheese and buttery bread, adding freshness to the meal. I also love serving panini alongside a bowl of tomato soup or minestrone, letting people dip the crispy corners into the broth. For a more casual setup, slice the sandwiches into smaller pieces and arrange them on a platter as appetizers, perfect for game day or casual gatherings where people graze and mingle.
Storage and Reheating
Panini are best enjoyed straight from the press, but if you have leftovers, wrap them tightly in foil and refrigerate for up to two days. To reheat, skip the microwave—it'll turn the bread rubbery—and instead use a hot skillet or pop them back in the press for a couple of minutes. The bread won't be quite as crispy as the first time, but it'll still taste far better than any cold sandwich pulled from the fridge.
- If you're meal-prepping, assemble the sandwiches and wrap them uncooked, then press them fresh when you're ready to eat.
- Freeze assembled sandwiches for up to a month, then press them directly from frozen, adding an extra minute or two to the cooking time.
- Keep your press clean by wiping it down after each use—stuck-on cheese is much harder to remove once it cools and hardens.
 Save
Save There's something deeply satisfying about making a meal that's both effortless and impressive, and these panini deliver exactly that. Whether you're feeding yourself on a busy weeknight or hosting friends on a lazy weekend, the press does most of the work while you enjoy the results.
Recipe FAQ Section
- → What breads work best for panini pressing?
Sourdough, ciabatta, multigrain, focaccia, and rustic breads hold up well and develop a crisp crust when pressed.
- → How long should sandwiches be pressed?
Cook each sandwich for 4–6 minutes until the bread is golden and the fillings are warm and melty.
- → Can I customize fillings for dietary needs?
Yes, swap meats for veggies or plant-based proteins and adjust cheeses or sauces to accommodate preferences.
- → How to prevent the bread from sticking to the press?
Lightly brush olive oil or spread butter on the outer bread surfaces before pressing to create a golden crust and prevent sticking.
- → Are there suggestions for serving these sandwiches?
Serve with a side salad or soup for a complete meal, and consider pairing with wines like Pinot Grigio or light reds.