 Save
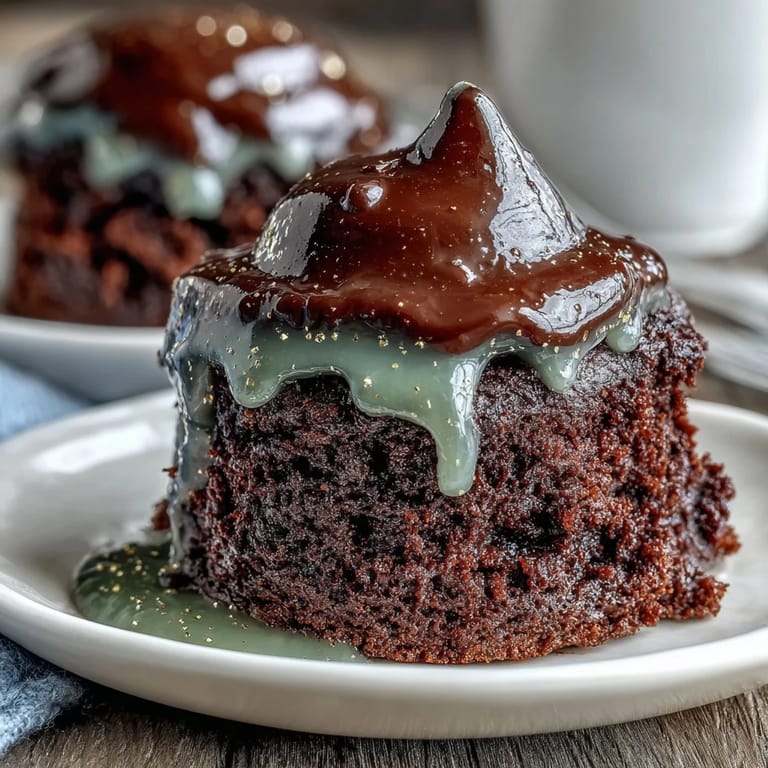
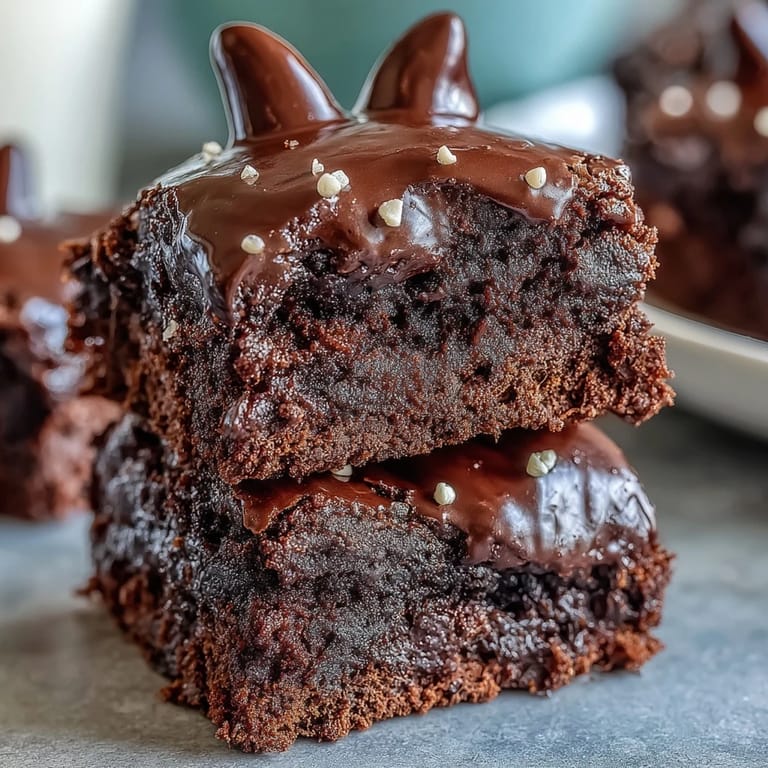
Save My neighbor knocked on my door last March with a sheepish grin, holding a plate of these ridiculous little leprechaun hats made of brownie and marshmallow. She'd stayed up way too late the night before, she admitted, assembling them for her kids' school party and ended up making extras just because the process was so oddly satisfying. I bit into one and immediately understood the appeal—fudgy brownie, that perfect marshmallow squish, and the way the green icing pooled at the base like a tiny costume. I had to learn her secrets.
I made these for the first time on a quiet Tuesday evening when I had absolutely no reason to celebrate anything—just felt like it. My kitchen smelled like melted chocolate for hours afterward, and I kept sneaking extra marshmallows from the bag to dip while nobody was looking. By the time I finished assembling them, I'd made 24 tiny leprechaun hats and realized I'd actually smiled the entire time I was working, which felt like its own kind of luck.
Ingredients
- Unsalted butter, melted (1/2 cup): Keep it melted but not scorching hot, or it'll cook your eggs when you mix them in.
- Granulated sugar (1 cup): This is what gives the brownie that fudgy center instead of a cakey one.
- Large eggs (2): Room temperature eggs incorporate better and create a smoother batter.
- Vanilla extract (1 tsp): Don't skip this—it deepens the chocolate flavor in a way most people can't quite name.
- Unsweetened cocoa powder (1/3 cup): The real deal matters here; don't use the hot chocolate mix.
- All-purpose flour (1/2 cup): Overmixing once you add this is your enemy.
- Salt (1/4 tsp): Brings out the chocolate and balances sweetness.
- Baking powder (1/4 tsp): Just enough to give a tiny lift without making them fluffy.
- Large marshmallows (24): The bigger ones hold up better to chocolate dipping than mini ones.
- Dark or semisweet chocolate chips (1 cup): Quality chocolate makes a difference in how smooth the coating sets.
- Unsalted butter for chocolate (2 tbsp): This keeps the chocolate thin enough to dip without being too thick.
- Thin round chocolate wafer cookies (24): These become the brim of the hat and need to be sturdy enough to support the marshmallow.
- Green icing: Homemade or store-bought both work, but homemade gives you control over the shade.
- Gold sprinkles or edible glitter (optional): This becomes your leprechaun buckle, and honestly it completes the whole vibe.
Tired of Takeout? 🥡
Get 10 meals you can make faster than delivery arrives. Seriously.
One email. No spam. Unsubscribe anytime.
Instructions
- Heat your oven and prep the pan:
- Preheat to 350°F and get your mini muffin pan ready with liners or a light greasing. This only takes a moment but saves you from scrambling once the batter is mixed.
- Make the brownie base:
- Whisk melted butter and sugar together until they look combined, then add eggs and vanilla and mix well. The mixture should look smooth and slightly glossy.
- Add the dry ingredients:
- Sift cocoa powder, flour, salt, and baking powder together, then fold them into the wet mixture with just a few stirs. You want everything combined but not overmixed, or the brownies get tough.
- Fill and bake:
- Divide batter evenly among the mini muffin cups, filling each about two-thirds full. Bake for 12 to 15 minutes until a toothpick comes out mostly clean with maybe a crumb or two.
- Cool completely:
- Let the brownie bites cool in the pan—this step matters because they're delicate when warm. Once cooled, they'll hold the topping better.
- Melt the chocolate coating:
- Microwave chocolate chips and butter in 30-second intervals, stirring each time until you have smooth, glossy chocolate. Don't let it get too hot or it'll seize up.
- Dip the marshmallows:
- Stick a toothpick into each marshmallow and dip it into the chocolate, letting the excess drip back into the bowl. The chocolate should coat evenly and set within a few minutes.
- Build the hat brim:
- Place each chocolate-dipped marshmallow on top of a wafer cookie so it looks like a little hat sitting on a brim. Let the chocolate set completely before moving on.
- Add the green band:
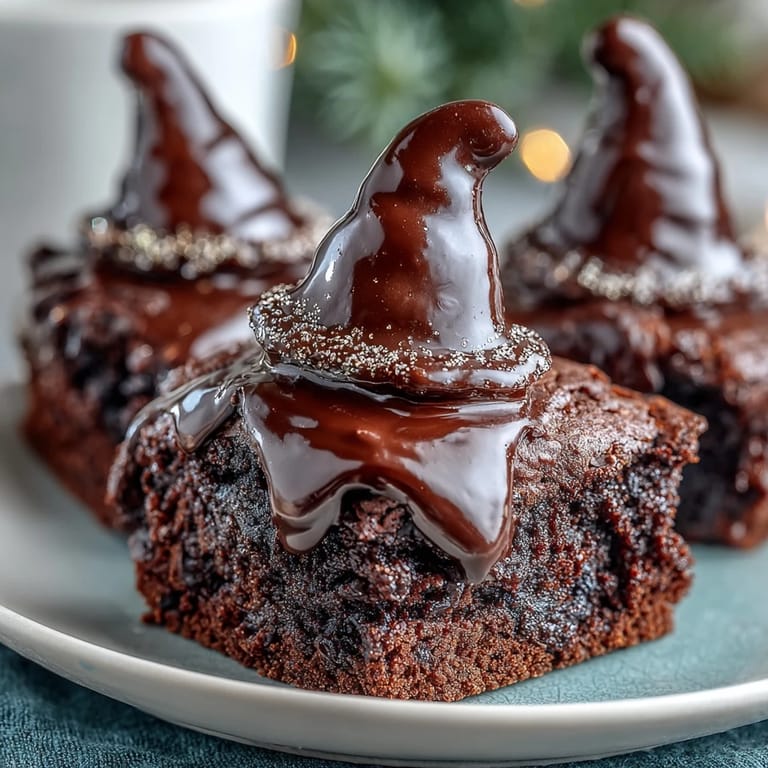
- Pipe green icing around the base where the marshmallow meets the cookie, then top with a sprinkle of gold for the buckle. This is where it officially becomes a leprechaun hat.
- Crown the brownies:
- Carefully place each hat on top of a brownie bite and press gently so it sticks. Remove the toothpicks slowly and your tiny leprechaun army is complete.
 Save
Save I brought a batch to work one Thursday morning, and watching someone's face light up when they realized the marshmallow was actually dipped in chocolate and the whole thing was edible and not just decoration—that's when I knew these were special. Food that makes people smile before they even taste it has a kind of magic.
The Joy of Tiny Celebrations
There's something about making something small and whimsical that shifts your whole mood. These brownie bites took over my counter space, and instead of feeling like a chore, the repetitive dipping and decorating became almost meditative. My hands stayed busy while my mind wandered, and somewhere between the tenth marshmallow and the fifteenth green icing band, I realized I'd been humming the entire time.
Make-Ahead Magic
You can bake the brownie bites up to two days ahead and store them in an airtight container, which means all the decorating pressure disappears. The marshmallows and chocolate hats can be prepped several hours before assembly, and honestly, spreading the work across a couple of days makes the whole project feel less overwhelming. I learned this the hard way by trying to do everything at once and nearly losing my mind with timing.
Variations That Keep It Fresh
Once you nail the basic leprechaun hat, the fun part is playing around with the details. Different chocolate wafers, white chocolate dipping, or even using homemade marshmallows if you're feeling ambitious will all work beautifully. The structure stays the same but you get to make it your own each time you make a batch.
- Try white chocolate instead of dark chocolate for a different flavor profile that still feels festive.
- Swap the green icing for green fondant rolled thin as a ribbon around the marshmallow base.
- Make these gluten-free by using gluten-free flour and finding gluten-free chocolate wafer cookies.
 Save
Save These brownies remind me that sometimes the most memorable desserts are the ones that make people smile before they ever take a bite. Make them, share them, and watch what happens.
Recipe FAQ Section
- → How do I achieve fudgy brownie bites?
Use melted butter and carefully measure cocoa powder and flour. Avoid overmixing to keep the texture dense and moist.
- → What’s the best way to dip marshmallows in chocolate?
Insert a toothpick into each marshmallow and dip in melted chocolate, allowing excess to drip off before setting.
- → Can I prepare these in advance?
Yes, store the assembled bites in an airtight container for up to 3 days to maintain freshness.
- → Are there alternatives for green icing?
Colored fondant can be used as a decorative band around the marshmallow hats for a different texture.
- → Is it possible to make gluten-free versions?
Substitute all-purpose flour and chocolate wafer cookies with gluten-free alternatives to accommodate dietary needs.