 Save
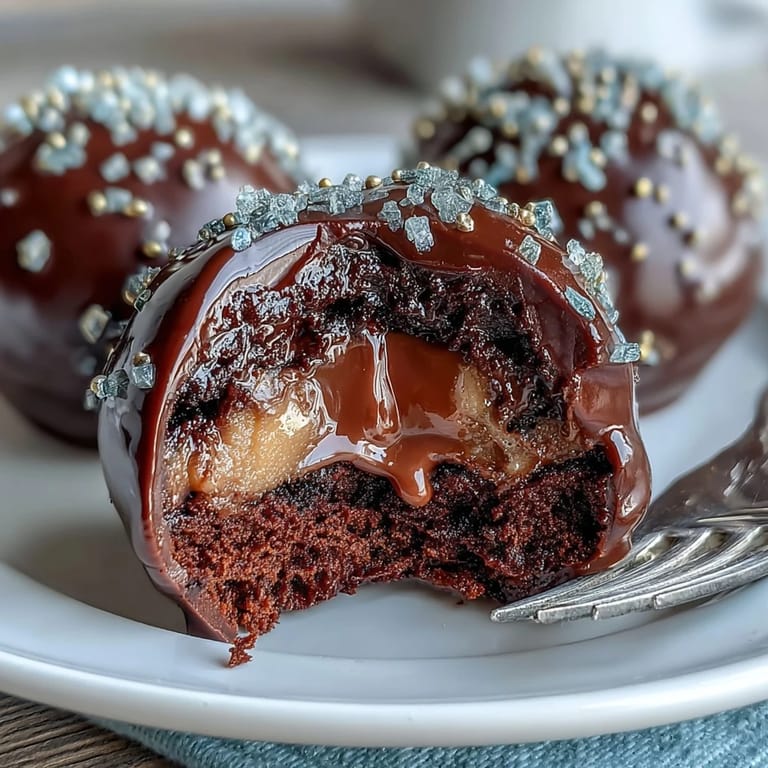
Save My friend Sarah brought these to a St. Patrick's Day party last year, and I watched people's faces light up when they realized the little black pots were actually cake inside. She'd spent the afternoon in her kitchen, carefully dipping each one and sprinkling edible gold on top while still warm, and the whole process felt less like cooking and more like creating tiny edible art pieces. I knew immediately I had to make them myself, if only to understand how she pulled off something that looked so impressive yet somehow felt doable.
The first time I made a batch, my roommate walked in during the decorating phase and just stood there watching me dip each one into black candy melts, completely mesmerized. By the time I finished the gold sprinkles, he was already asking if I could make them for his birthday. That's when I realized these aren't just festive treats, they're the kind of thing that makes people remember you tried something ambitious in the kitchen.
Ingredients
- Chocolate cake mix: This is your shortcut and your friend, giving you reliable structure without the fuss of baking from scratch.
- Chocolate frosting: The glue that holds everything together, so don't skip it or your cake balls will fall apart during dipping.
- Black candy melts: They create that pot-like coating and set quickly, which is crucial for keeping your cake pops looking polished.
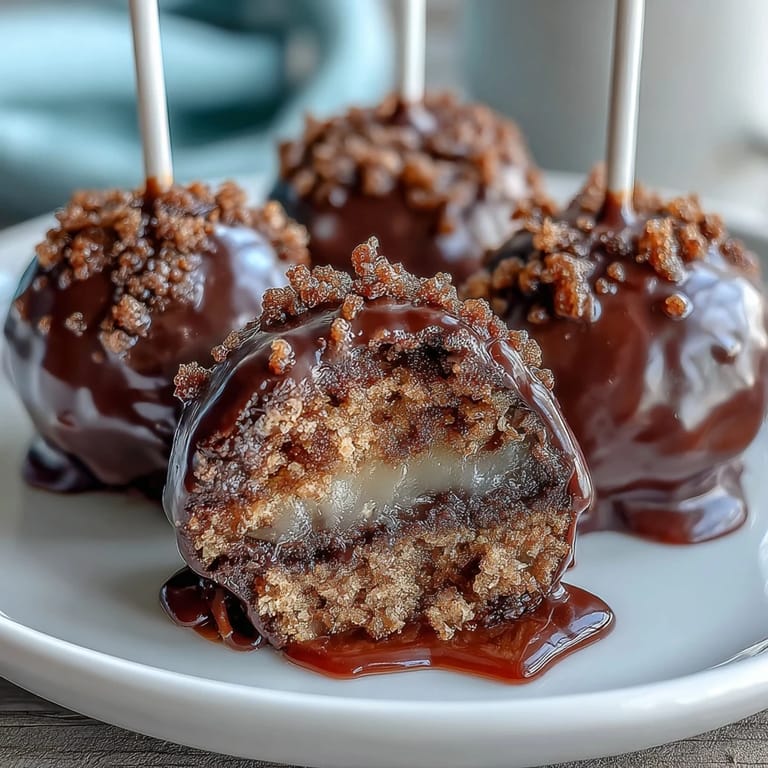
- Gold sprinkles or edible gold pearls: These are the magic that transforms them from basic cake balls into little treasure pots that catch the light.
- Lollipop sticks: Standard size works fine, and they give you something to hold while dipping without your fingers getting covered in melted chocolate.
- White candy melts: Perfect for piping decorative rims if you want to add detail, but totally optional depending on how much time you have.
- Green fondant or sprinkles: A small touch that nods to the St. Patrick's Day theme without overwhelming the design.
Tired of Takeout? 🥡
Get 10 meals you can make faster than delivery arrives. Seriously.
One email. No spam. Unsubscribe anytime.
Instructions
- Bake and crumble your chocolate cake:
- Follow the package instructions for your cake mix and let it cool completely before crumbling. You want fine, even crumbs that will hold together nicely once you add the frosting.
- Mix in the frosting:
- Combine your crumbs and frosting until you get a consistency that's almost like wet sand, holding its shape when squeezed. This is what gives your cake pops their tender crumb and prevents them from being dense.
- Roll and chill your cake balls:
- Scoop them out to roughly the same size for even cooking, then flatten the tops slightly so they look like little pots. Refrigerating them makes them firm enough to handle the dipping process without falling apart.
- Set your sticks:
- Dip the stick tip in melted black candy and push it halfway into each cake ball, then chill again briefly. This anchors everything and prevents the cake pop from spinning off during the dip.
- Dip with confidence:
- Melt your black candy melts and dip each pop fully, letting the excess drip off for a clean finish. Stand them upright right away while they're still soft enough to position properly.
- Add gold while wet:
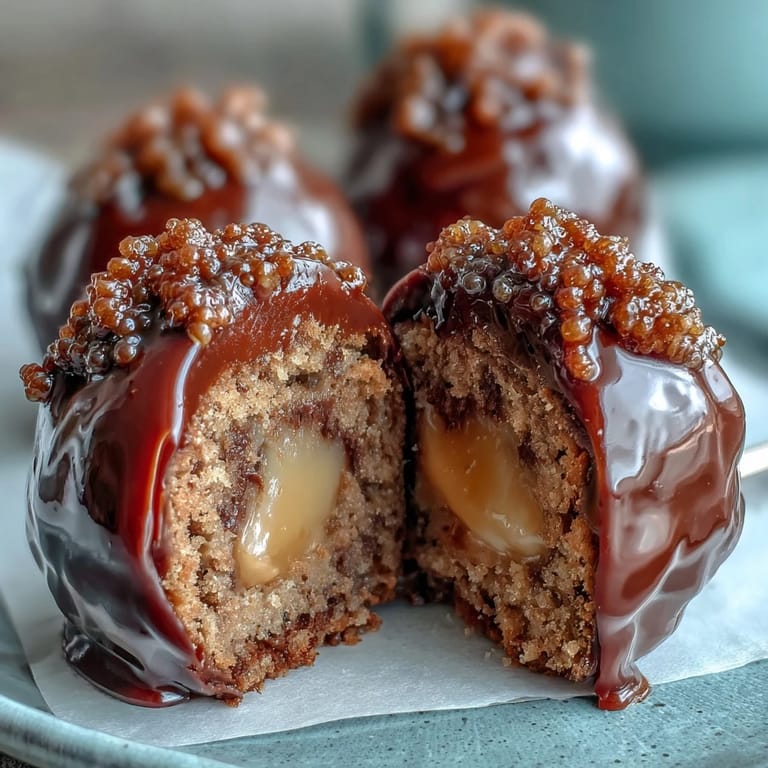
- Sprinkle your gold decorations immediately after dipping, before the coating sets, so they stick and sparkle. This is the moment that transforms them from chocolate-coated balls into actual tiny treasure pots.
- Optional details:
- Once the black coating is set, pipe thin rings of white or black candy around the rim for a finished look, then add any green accents. Let everything set completely before serving.
 Save
Save There's something oddly satisfying about standing your finished cake pops upright in a stand and watching the coating set, knowing you've created something that looks like it came from a fancy bakery. When someone bites into one and finds chocolate cake inside that little black pot, you'll understand why Sarah's friends still ask her about those cake pops.
Getting Your Technique Smooth
The first batch I made taught me that patience with chilling makes all the difference. I skipped a chilling step once and watched in horror as a cake pop slid right off its stick mid-dip. Now I chill before and after every stage, and my success rate is nearly perfect.
Timing Your Decorating
The window between dipping and the coating setting is narrow, so have all your sprinkles and decorations ready before you start. I learned this by frantically searching for my gold sprinkles while five cake pops were already hardening, leaving some beautifully gold and others painfully bare.
Storage and Serving
These keep well at room temperature for a few days, which means you can make them a day or two ahead of your party. They're best served at room temperature when the chocolate is slightly soft and the cake is tender.
- An airtight container is your friend here, as it keeps them fresh and protected from getting squished.
- If you're traveling with them, transport them in their stand or a sturdy box so they don't roll around.
- A light dusting of gold over the whole batch right before serving makes them look even more festive.
 Save
Save These little pots of gold are proof that festive desserts don't have to be complicated to feel special. Make them once and you'll find yourself planning the next batch before you've even finished serving the first.
Recipe FAQ Section
- → How do you ensure cake pops hold their shape?
Mix cake crumbs thoroughly with frosting until the mixture is firm yet pliable. Chilling the shaped balls before coating helps maintain their form.
- → What is the best way to dip cake pops in candy melts?
Melt candy melts evenly and dip each pop fully, allowing excess to drip off. Use a styrofoam block to keep pops upright while setting.
- → Can I add decorations besides gold sprinkles?
Yes, green fondant or sprinkles can be added to create shamrock accents for extra festive appeal.
- → How long should cake pops be refrigerated before coating?
Chill the shaped cake balls for about 30 minutes; this helps the pops firm up and makes dipping easier.
- → Can I prepare these in advance?
Yes, store cake pops in an airtight container at room temperature for up to 3 days without losing freshness or shape.